English
Persian | Dari
Home
(current)
Categories
Beauty & Personal Care
Personal Care
Health Monitors & Devices
Vitamins & Supplements
Sexual welness & Adult Tools
Eye Treatments & Vision Care
Herbal Remedies & Essential Oils
Baby & Child Care
Diapers & Wipes
Kids' Health & Safety
Kids' Personal Care
Baby Bath & Skincare
Baby Teething
Nursing & Feeding
Beauties & Makeup
Makeup & Beauty Sets
Tools & Accessories
Eye & Face Makeup
Lip Care
Nail Care
Makeup Kit
Bath & Body
Body Wash & Soaps
Body Oils
Bath Accessories
Loofahs & Sponges
Body Brush
Hair Care
Shampoos & Conditioners
Hair Dye & Color
Hair Extensions
Hair Styling Tools
Hair Treatment & Masks
Skin Care
Shaving Accessories
After Shave & Balms
Cleansers & Scrubs
Toner & Treatment
Masks & Exfoliators
Tattoo & Henna
Feminine Care
Pads & Tampons
Feminine Washes & Wipes
Menstrual Cups
Period Underwear
Oral Care
Toothpastes & Toothbrushes
Whitening & Treatments
Dental Floss & Picks
Mouth Washes & Rinses
Shoes
Women's Shoes
Comfort Shoes
Dress Shoes & Heels
Loafers & Flats
Slippers & Slides
Sneakers & Sports
Boots & Workwear
Shoes & Sandals
Men's Shoes
Boots & Work Shoes
Men's Dress Shoes
Men's Loafers & Flats
Sandals & Slippers
Sneakers & Casual Shoes
Sport Shoes
Girls' Shoes
Girls' Boots
Flats & Dress Shoes
Sandals & Slippers
Sneakers & Casual Shoes
Boys' Shoes
Boys' Boots
Sandals & Slippers
Formal & Casual Shoes
Kids' & Babies' Shoes
Kids' Shoes
Home & Living
Appliances
Kitchen Appliances
Loundry Appliances
Heating & Cooling Appliances
Vacuum Cleaners & Floor Care
Small Home Appliances
Personal Care Appliances
Bedding
Mattresses
Bedding Sets
Blankets & Throws
Duvets & Comforters
Mattress Toppers
Bed Linen
Pillows
Home Decor
Lighting & Lamps
Decorative Accessories
Curtains & Drapes
Candles & Candle Holders
Rugs & Carpets
Throw Pillows & Blankets
Wall Arts & Decor
Furniture
Living room Furniture
Outdoor Furniture
Accent Furniture
Diningroom Furniture
Office Furniture
Bedroom Furniture
Kids Furniture
Kitchen & Dinning
Food Preparation Tools
Cookware & Backware
Tableware & Utensils
Kitchen Storage
Storage & Organization
Hooks & Hangers
Shelving Units & Racks
Closet Organizers
Drawer Organizers
Baskets & Bins
Cupboards & Cabinets
Bathroom
Bath Accessories
Soft Towels & Liners
Shower Curtains & Mats
Bath & Body Essentials
Bathroom Storage
Bathrobes & Slippers
Office & Stationery
Desk Organizers
Writing Supplies
Storage Solutions
Cleaning & Maintenance
Cleaning Supplies
Trash Bins & Recycling
Cleaning Equipment
Cleaning Tools
Laundry Care
Women's Clothing
Kids' & Babies' Clothing
Baby Clothes
Girls' Clothing
Tops & T-shirts
Girls' Dresses
Underwear
Skirt & Pants
Ethnic Wear
Pakistani Costume Clothing
Indian Costume Clothing
Afghan Handcrafted Embroidery
Afghan Gands & Wedding Attire
Hazaragi Traditional Dresses
Sleep & Loungewear
Sleep Pants & Shorts
Nightgown & Sleepshirts
Pajama Sets
Loungewear Sets
Muslim Wears
Abayas
Kaftans & Jilbabs
Hijabs & Scarves
Modest Dresses
Tops & Tunics
Women's Top
Women's Coats & Jackets
Snow & Rain wear
Cardigans & Sweaters
Women Shirts & T-Shirts
Dresses
Wedding & Party Dress
Casual Dress
Sheath & Bandage Dress
Long Sleeve Dresses
Formal & Cocktail Dresses
Women's Bottoms
Jeans For Women
Skirts
Leggings & Jeggings
Shorts
Pants & Trousers
Underwear & Shapewear
Socks and Hosiery
Bras & Panties
Shapewear
Accessories
Women's Jewelry
Anklets & Bracelets
Earings
Fashion Jewelry
Necklace & Pendants
Watches
Bangles & Chura
Chains & Lockets
Rings
Artificial Jewelry
Jewellery
Women's Accessories
Sunglasses & Eye Wears
Shawls & Accessories
Hair & Headwear
Bags
Backpacks
Luggage & Travel Bags
Wallets & Cardholder
Handbags
Special Purpose Bags
Men's Jewelries
Bracelets & Chains
Men's Earings
Men's Rings
Men's Necklaces
Men's Watches
Kids' Jewelries
Jewelry Sets
Kids' Watches
Collars & Bibs
Kids' Hair Accessories
Baby toys & Accessories
Fragrances
Body Spray
Perfumes
Men's Accessories
Belts & Suspenders
Hats & Headbands
Sunglasses & Eye Wears for Men
Men's Gloves & Scarves
Baby Accessories
Baby Travels & Bags
Men's Clothing
Men's Tops
Blouse & Shirts
Afghan Perahan Tanban
Polo Shirts
T-Shirt For Men
Hoodies & Suitshirt
Bottom
Men's Jeans
Men's Pants
Pyjamas & Robs
Shorts for men
Boys Clothing
Boys' Bottoms & Pants
Boys' Tops & Shirts
Boys' Outerwear
Boys' Accessories
Acessories
Men's Hats & Caps
Handkerchiefs & SCarves
Men's Formal Accessories
Outerwear
Blazer & Sport Coats
Afghani Chapan & Waistcoat
Men's Coats & Jackets
Pet Supplies
Pet Furnitures
Cage Stands
Pet Steps
Pet Beds & Cots
Pet Hammocks
Pet Ramps
Play Furniture
Pet Beddings
pet blankets
liners
Pet Mats & Pads
Nesting Supplies
Pet Clothing
Pet Neckwear
Pet Dresses
Pet Hats & Wigs
Pet Jackets & Hoodies
Pet Tops
Pet Shoes
Pet Toys
Pet Birth Toys
Pet Crates and kennels
Cat Toys
Dog Toys
Small Animal Toys
Pet Charms & Bells
Pet Carriers & Houses
Aquariums & Tank Décor
Bird Cages
Coops/Nests & Bags
Pet Houses
Pet Totes
Pet Feeding
Feeding Stands
Pet Storage & Trays
Pet Feeders & Waterers
Pet Health & Wellness
Pet Supplements & Vitamins
Pet Pest Control
Pet Grooming
Pet Deodorisers & Perfumes
Pet Waste Management
Pet Dental Care
Pet Collars & Lashes
Pet Leashes
Pet Harnesses & Backpacks
Pet Collars and Jewellery
Pet ID Tags
Login
0
Wish
Beauty & Personal Care
Personal Care
Health Monitors & Devices
Vitamins & Supplements
Sexual welness & Adult Tools
Eye Treatments & Vision Care
Herbal Remedies & Essential Oils
Baby & Child Care
Diapers & Wipes
Kids' Health & Safety
Kids' Personal Care
Baby Bath & Skincare
Baby Teething
Nursing & Feeding
Beauties & Makeup
Makeup & Beauty Sets
Tools & Accessories
Eye & Face Makeup
Lip Care
Nail Care
Makeup Kit
Bath & Body
Body Wash & Soaps
Body Oils
Bath Accessories
Loofahs & Sponges
Body Brush
Hair Care
Shampoos & Conditioners
Hair Dye & Color
Hair Extensions
Hair Styling Tools
Hair Treatment & Masks
Skin Care
Shaving Accessories
After Shave & Balms
Cleansers & Scrubs
Toner & Treatment
Masks & Exfoliators
Tattoo & Henna
Feminine Care
Pads & Tampons
Feminine Washes & Wipes
Menstrual Cups
Period Underwear
Oral Care
Toothpastes & Toothbrushes
Whitening & Treatments
Dental Floss & Picks
Mouth Washes & Rinses
Shoes
Women's Shoes
Comfort Shoes
Dress Shoes & Heels
Loafers & Flats
Slippers & Slides
Sneakers & Sports
Boots & Workwear
Shoes & Sandals
Men's Shoes
Boots & Work Shoes
Men's Dress Shoes
Men's Loafers & Flats
Sandals & Slippers
Sneakers & Casual Shoes
Sport Shoes
Girls' Shoes
Girls' Boots
Flats & Dress Shoes
Sandals & Slippers
Sneakers & Casual Shoes
Boys' Shoes
Boys' Boots
Sandals & Slippers
Formal & Casual Shoes
Kids' & Babies' Shoes
Kids' Shoes
Home & Living
Appliances
Kitchen Appliances
Loundry Appliances
Heating & Cooling Appliances
Vacuum Cleaners & Floor Care
Small Home Appliances
Personal Care Appliances
Bedding
Mattresses
Bedding Sets
Blankets & Throws
Duvets & Comforters
Mattress Toppers
Bed Linen
Pillows
Home Decor
Lighting & Lamps
Decorative Accessories
Curtains & Drapes
Candles & Candle Holders
Rugs & Carpets
Throw Pillows & Blankets
Wall Arts & Decor
Furniture
Living room Furniture
Outdoor Furniture
Accent Furniture
Diningroom Furniture
Office Furniture
Bedroom Furniture
Kids Furniture
Kitchen & Dinning
Food Preparation Tools
Cookware & Backware
Tableware & Utensils
Kitchen Storage
Storage & Organization
Hooks & Hangers
Shelving Units & Racks
Closet Organizers
Drawer Organizers
Baskets & Bins
Cupboards & Cabinets
Bathroom
Bath Accessories
Soft Towels & Liners
Shower Curtains & Mats
Bath & Body Essentials
Bathroom Storage
Bathrobes & Slippers
Office & Stationery
Desk Organizers
Writing Supplies
Storage Solutions
Cleaning & Maintenance
Cleaning Supplies
Trash Bins & Recycling
Cleaning Equipment
Cleaning Tools
Laundry Care
Home Improvements
Paint Supplies & Tools
Building Materials & Tools
Plumbing Tools & Equipments
Electrical Tools & Accessories
Flooring Tools & Accessories
Construction & Building Machinery
Women's Clothing
Kids' & Babies' Clothing
Baby Clothes
Girls' Clothing
Tops & T-shirts
Girls' Dresses
Underwear
Skirt & Pants
Ethnic Wear
Pakistani Costume Clothing
Indian Costume Clothing
Afghan Handcrafted Embroidery
Afghan Gands & Wedding Attire
Hazaragi Traditional Dresses
Sleep & Loungewear
Sleep Pants & Shorts
Nightgown & Sleepshirts
Pajama Sets
Loungewear Sets
Muslim Wears
Abayas
Kaftans & Jilbabs
Hijabs & Scarves
Modest Dresses
Tops & Tunics
Women's Top
Women's Coats & Jackets
Snow & Rain wear
Cardigans & Sweaters
Women Shirts & T-Shirts
Dresses
Wedding & Party Dress
Casual Dress
Sheath & Bandage Dress
Long Sleeve Dresses
Formal & Cocktail Dresses
Women's Bottoms
Jeans For Women
Skirts
Leggings & Jeggings
Shorts
Pants & Trousers
Underwear & Shapewear
Socks and Hosiery
Bras & Panties
Shapewear
Accessories
Women's Jewelry
Anklets & Bracelets
Earings
Fashion Jewelry
Necklace & Pendants
Watches
Bangles & Chura
Chains & Lockets
Rings
Artificial Jewelry
Jewellery
Women's Accessories
Sunglasses & Eye Wears
Shawls & Accessories
Hair & Headwear
Bags
Backpacks
Luggage & Travel Bags
Wallets & Cardholder
Handbags
Special Purpose Bags
Men's Jewelries
Bracelets & Chains
Men's Earings
Men's Rings
Men's Necklaces
Men's Watches
Kids' Jewelries
Jewelry Sets
Kids' Watches
Collars & Bibs
Kids' Hair Accessories
Baby toys & Accessories
Fragrances
Body Spray
Perfumes
Men's Accessories
Belts & Suspenders
Hats & Headbands
Sunglasses & Eye Wears for Men
Men's Gloves & Scarves
Baby Accessories
Baby Travels & Bags
Men's Clothing
Men's Tops
Blouse & Shirts
Afghan Perahan Tanban
Polo Shirts
T-Shirt For Men
Hoodies & Suitshirt
Bottom
Men's Jeans
Men's Pants
Pyjamas & Robs
Shorts for men
Boys Clothing
Boys' Bottoms & Pants
Boys' Tops & Shirts
Boys' Outerwear
Boys' Accessories
Acessories
Men's Hats & Caps
Handkerchiefs & SCarves
Men's Formal Accessories
Outerwear
Blazer & Sport Coats
Afghani Chapan & Waistcoat
Men's Coats & Jackets
Pet Supplies
Pet Furnitures
Cage Stands
Pet Steps
Pet Beds & Cots
Pet Hammocks
Pet Ramps
Play Furniture
Pet Beddings
pet blankets
liners
Pet Mats & Pads
Nesting Supplies
Pet Clothing
Pet Neckwear
Pet Dresses
Pet Hats & Wigs
Pet Jackets & Hoodies
Pet Tops
Pet Shoes
Pet Toys
Pet Birth Toys
Pet Crates and kennels
Cat Toys
Dog Toys
Small Animal Toys
Pet Charms & Bells
Pet Carriers & Houses
Aquariums & Tank Décor
Bird Cages
Coops/Nests & Bags
Pet Houses
Pet Totes
Pet Feeding
Feeding Stands
Pet Storage & Trays
Pet Feeders & Waterers
Pet Health & Wellness
Pet Supplements & Vitamins
Pet Pest Control
Pet Grooming
Pet Deodorisers & Perfumes
Pet Waste Management
Pet Dental Care
Pet Collars & Lashes
Pet Leashes
Pet Harnesses & Backpacks
Pet Collars and Jewellery
Pet ID Tags
hazara
Buy Now
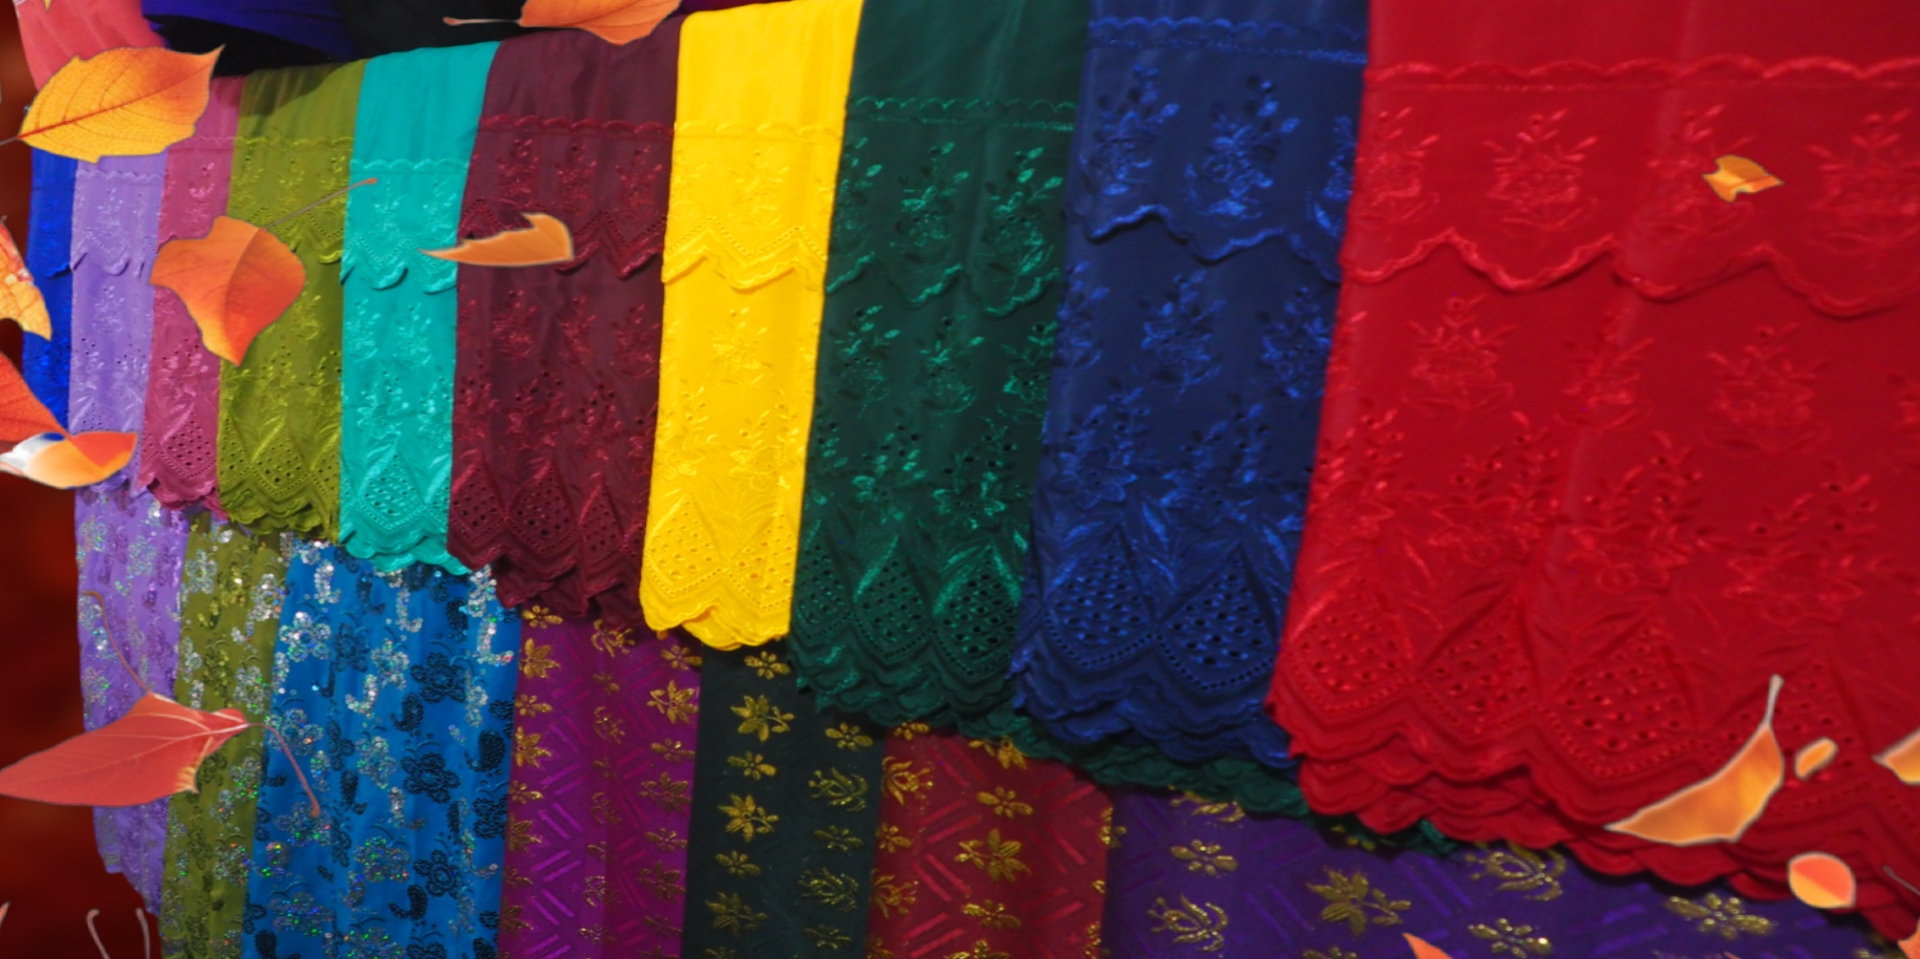
Traditional Garments
Buy Now
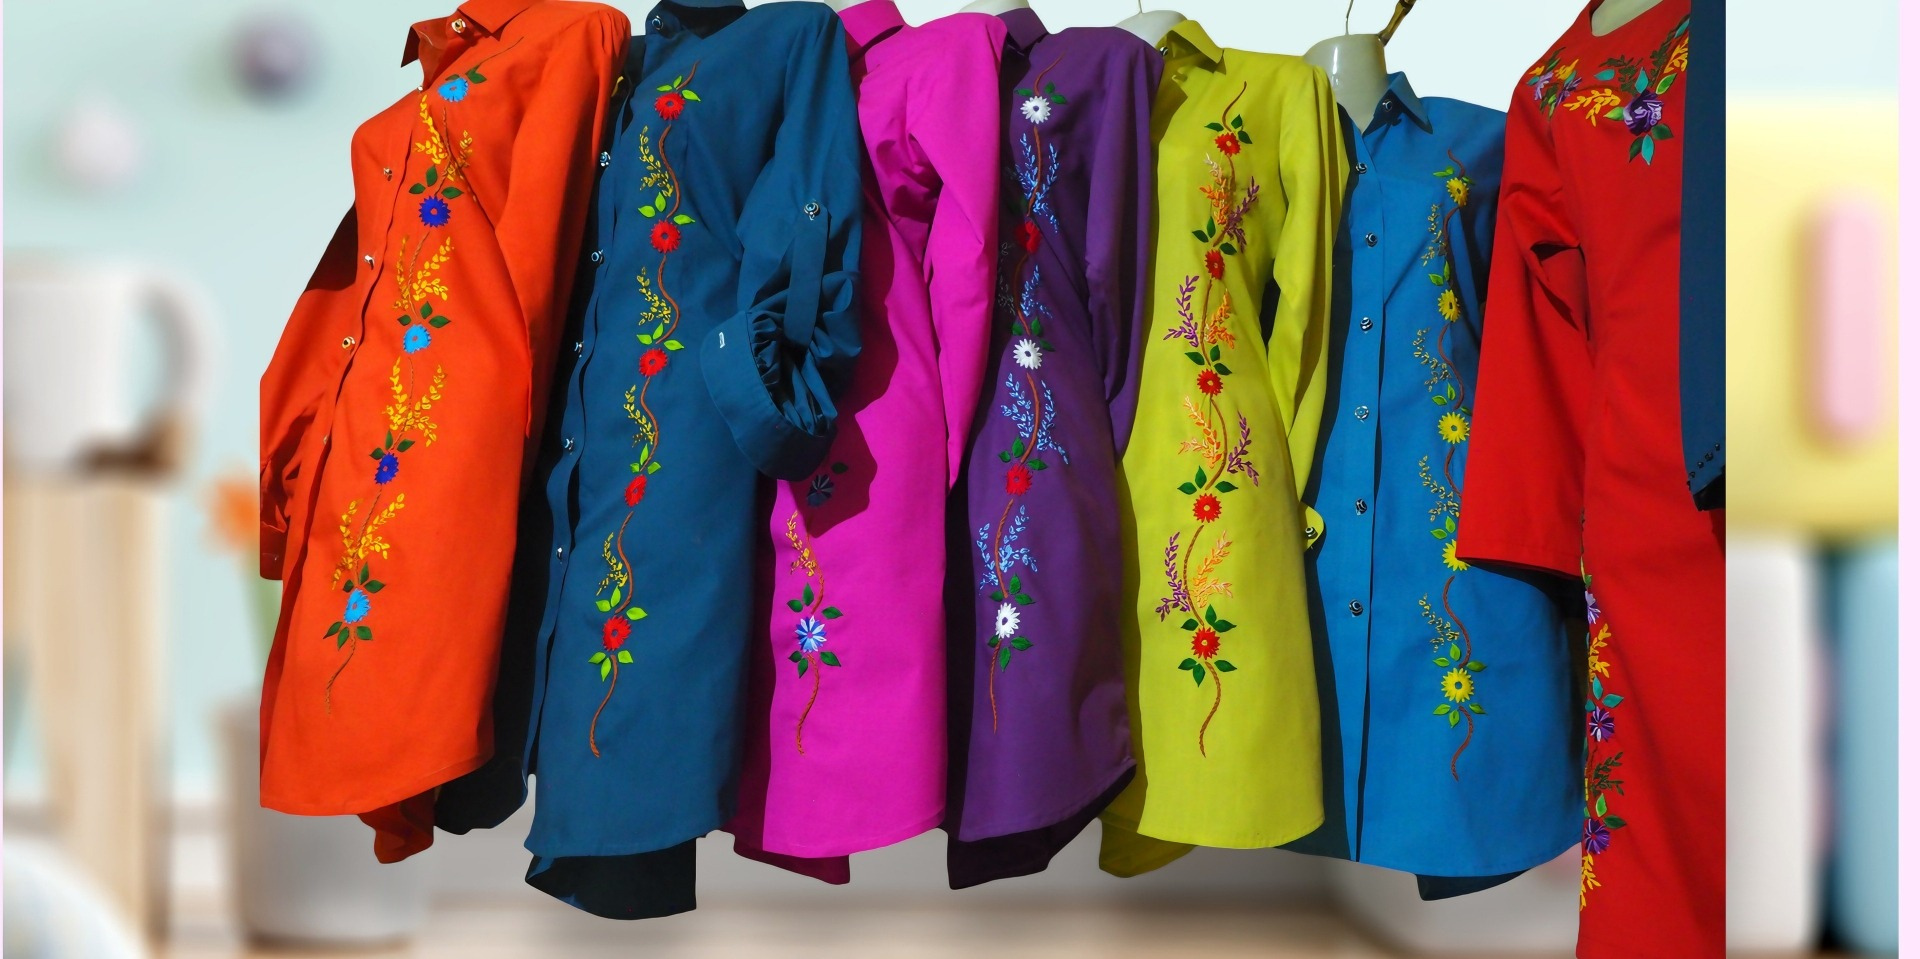
Explore New Cultural HandCrafted Stylish Shirts for Ladies
Buy Now
Previous
Next
Leave a Comment
Name:
Email:
Comment:
Send
Categories
Industrial Trends and Innovation
Exclusive Deals and Discounts
New Arrivals
Shopping Tips and Tricks
Arts and Culture
Business and Enterpreneourship
Recent Posts
What Can You Sell on Expaio? Profitable Product Ideas for Sellers
Become Our Seller: a unique opportunity to sell your products on Expaio Marketplace
The Top 9 Technical and Business Trends in 2024
Help
Do you Need Any Help?
+61 421 195 303
[email protected]
71 Harrow Rd, Auburn NSW 2144, Australia